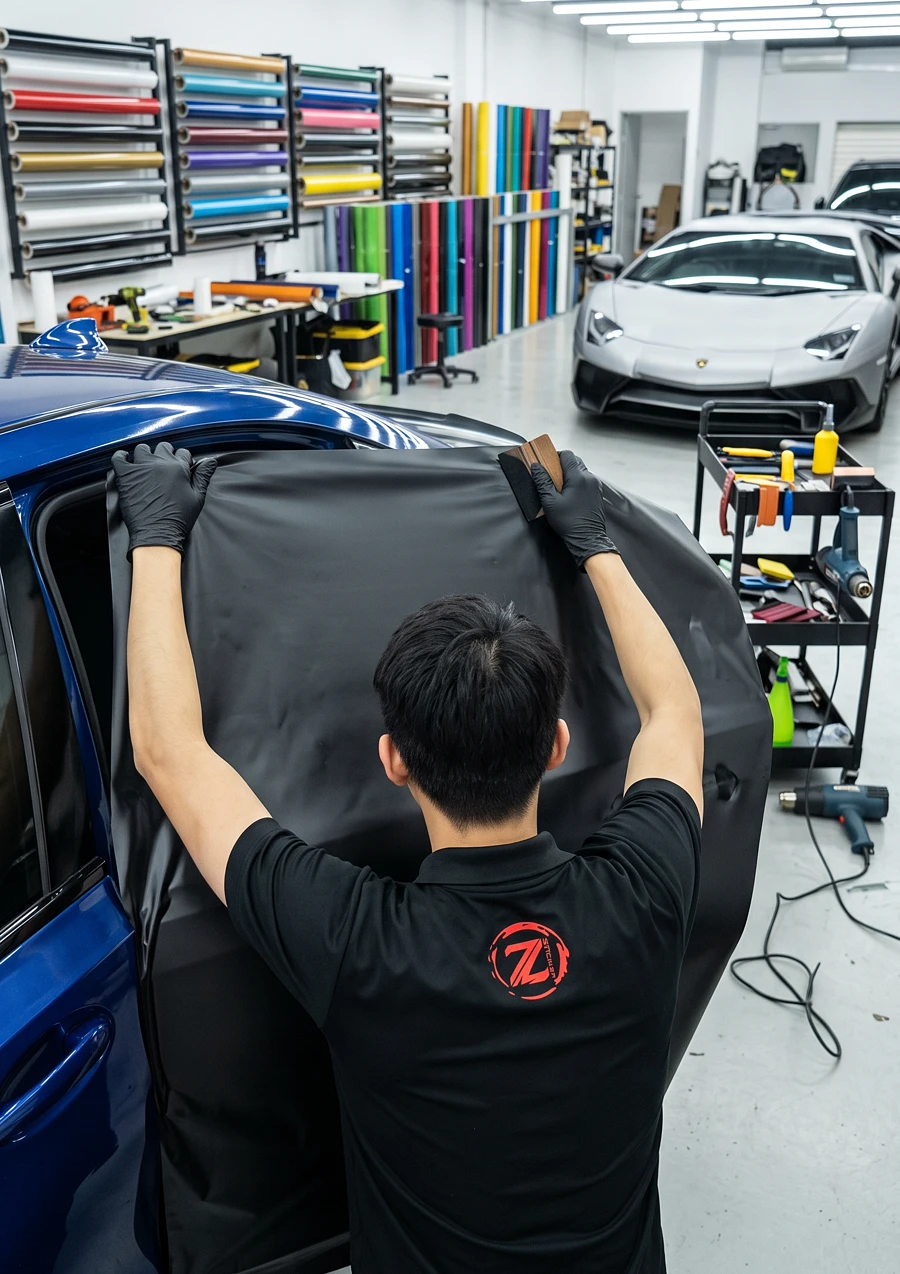
A DIY car wrap costs less upfront – just the vinyl and basic tools – but takes a beginner roughly 20 to 40 hours, and mistakes like bubbles, wrinkles, and misaligned panels are very common on a first attempt. A professional installation costs more but is done in 2 to 4 days, uses proper heat and tools to conform vinyl cleanly around curves, and typically comes with a workmanship warranty. For a small accent panel, DIY can be a reasonable way to learn; for anything covering the whole car, the gap in finish quality and lifespan is usually worth the extra cost.
Below is the honest comparison: what DIY actually involves hour by hour, why most first attempts run into trouble, what you’re really paying for with a professional job, and when doing it yourself genuinely makes sense.
DIY vs Professional Car Wrap? Quick Answers
| Factor | DIY | Professional |
|---|---|---|
| Upfront cost | Lower (vinyl + tools only) | Higher (labour included) |
| Time | 20–40 hours for a beginner | 2–4 days |
| Finish quality | Variable, often visible flaws first time | Consistent, clean edges and curves |
| Lifespan | Often shorter due to install issues | 3–5+ years with proper care |
| Warranty | None | Usually included on workmanship |
What DIY Actually Involves (Time, Tools, Skill)
A full DIY wrap isn’t just sticking film onto panels – it involves several stages that each need their own skill:
- Surface prep – washing, clay-barring, and degreasing every panel so nothing is trapped under the film.
- Cutting and planning panel sections – working out how much material each panel needs, with overlap for trimming.
- Applying and stretching the vinyl – using a heat gun and squeegee together to conform the film around curves, mirrors, and door handles without stretching it too far.
- Trimming edges cleanly – around every panel gap, light, and trim piece, without cutting into the paint underneath.
- Post-heating – relaxing the vinyl after it’s stretched so it doesn’t pull back at the edges later.
For a first-timer, this realistically takes a full weekend or more, and that’s assuming nothing needs to be redone. Most beginners underestimate how much time goes into panel prep and planning before any vinyl even touches the car – it’s easy to focus on the “sticking it down” part and forget that cutting sections accurately and washing every panel properly can eat up half the total time on its own.
Why Most DIY Wraps Fail
These are the same mistakes that show up again and again on a first attempt:
- Not enough heat. Vinyl needs real heat to conform to curves – without it, the film wrinkles and won’t sit flat, especially around mirrors and bumpers.
- Uneven squeegee pressure. Too light and air bubbles get trapped; too hard and it leaves visible stress marks in the finish.
- Overstretching the film. Vinyl “remembers” its original shape – stretch it too far and it can slowly contract back over the following weeks, lifting edges and creating wrinkles, especially in Malaysia’s heat.
- Poor surface prep. Any leftover dirt, wax, or grease under the film causes bubbles and poor adhesion that shows up days or weeks later.
- Rushing. Even a technically correct install needs time to settle – rushing the last steps is a common reason an otherwise decent DIY job fails early.
None of these are really about a lack of effort – they’re about the hundreds of small judgment calls (how much heat, how much stretch, when to stop) that only come from doing the job repeatedly. An experienced installer isn’t following a fixed set of steps so much as constantly reading how the film is reacting in real time and adjusting – something no amount of watching online tutorials fully prepares a first-timer for.
What You’re Really Paying For With a Professional
- Experience on curves and problem areas – mirrors, door handles, and bumper corners are where DIY jobs usually go wrong first, and where a professional’s repetition really shows.
- A controlled workshop environment – clean, dust-free, temperature-controlled conditions matter more than most people expect for a bubble-free result.
- The right tools – proper heat guns, squeegees, and knifeless tape trim lines that a one-time DIY toolkit usually can’t match.
- A workmanship warranty – if an edge lifts within the warranty period, a professional installer fixes it; a DIY mistake is entirely on you to redo.
- Time saved – a job that takes a professional two to three days can easily take a beginner a full week of evenings and weekends.
- Correct handling around sensors and trim – a professional knows which pieces to remove versus wrap around, reducing the risk of accidentally damaging a parking sensor, badge, or trim clip during installation.
When DIY Might Make Sense
DIY isn’t unreasonable in every situation – it just needs the right scope:
- Small, flat, low-visibility panels – like the inside of a boot lid or a hidden interior trim piece – are forgiving places to practise.
- You genuinely want to learn the skill for its own sake, treating early mistakes as part of the process rather than expecting a flawless result.
- You’re using cheap practice vinyl rather than expensive premium film for your first few attempts.
What we’d steer people away from is a first-ever DIY attempt on a highly visible panel like a bonnet or full car with premium film – the material cost of a failed attempt often ends up close to what professional labour would have cost in the first place.
A reasonable middle ground some owners choose is doing the prep work themselves – washing, clay-barring, and degreasing the car – and then bringing it to a professional for the actual application. This doesn’t save a huge amount on the final price since labour is mostly in the application itself, but it can be a good way to get hands-on and understand the process before deciding whether to attempt a full DIY job on a future car.
Questions People Ask
Can a badly done DIY wrap be fixed by a professional afterward?
Often yes, though it usually means removing the DIY attempt first and starting fresh, which can cost more overall than if it had been professionally installed from the start.
Is DIY wrap material different from what professionals use?
Not necessarily – many of the same brands (3M, Avery Dennison, TeckWrap) sell to both DIY enthusiasts and professional shops; the difference is almost entirely in the installation skill, not the film itself.
How much can a DIY wrap realistically save compared to professional installation?
The material cost saving is real, but it needs to be weighed against your time, the risk of wasted vinyl from mistakes, and the absence of any warranty if something goes wrong.
Is a partial wrap (like a roof or bonnet) more DIY-friendly than a full wrap?
Yes – fewer curves, less material, and lower stakes if something goes slightly wrong make a single flat panel a much more reasonable starting point than an entire car.
Do I need special tools to even attempt a DIY wrap, or can I use household items?
A heat gun and a proper felt-edged squeegee are worth buying rather than improvising – a hairdryer rarely gets hot enough, and using a hard plastic card instead of a squeegee tends to scratch the film’s surface.
What’s the single biggest reason professional wraps look noticeably better?
Consistency around difficult areas – mirrors, handles, and bumper corners – is what separates a professional finish from a DIY one, since these spots need the most experience to get truly clean and bubble-free.
Read next: Full car wrap guide · Does car wrap damage paint? · Can a scratched wrap be fixed?
DIY can be a genuinely fun way to learn on a small, forgiving panel, but for anything covering a whole car or a highly visible section, the gap between a beginner’s first attempt and a professional finish is usually bigger than people expect – and a failed attempt often costs close to what professional labour would have been anyway.
Z-Sticker is based in Taman Sentosa, Klang, Selangor – if you’ve started a DIY wrap and hit a wall, we’re happy to take over and finish it properly. WhatsApp us at +60 16-343 8343 for an honest assessment.